We have been bay clamming for a couple years now and we love it! We get loads of humongous cockels which I make into succulent chowder and tender clam strips. Many of our friends have casually mentioned that, while that’s all well and good… we are missing out on the most delicious Pacific NW clam – the RAZOR CLAM.
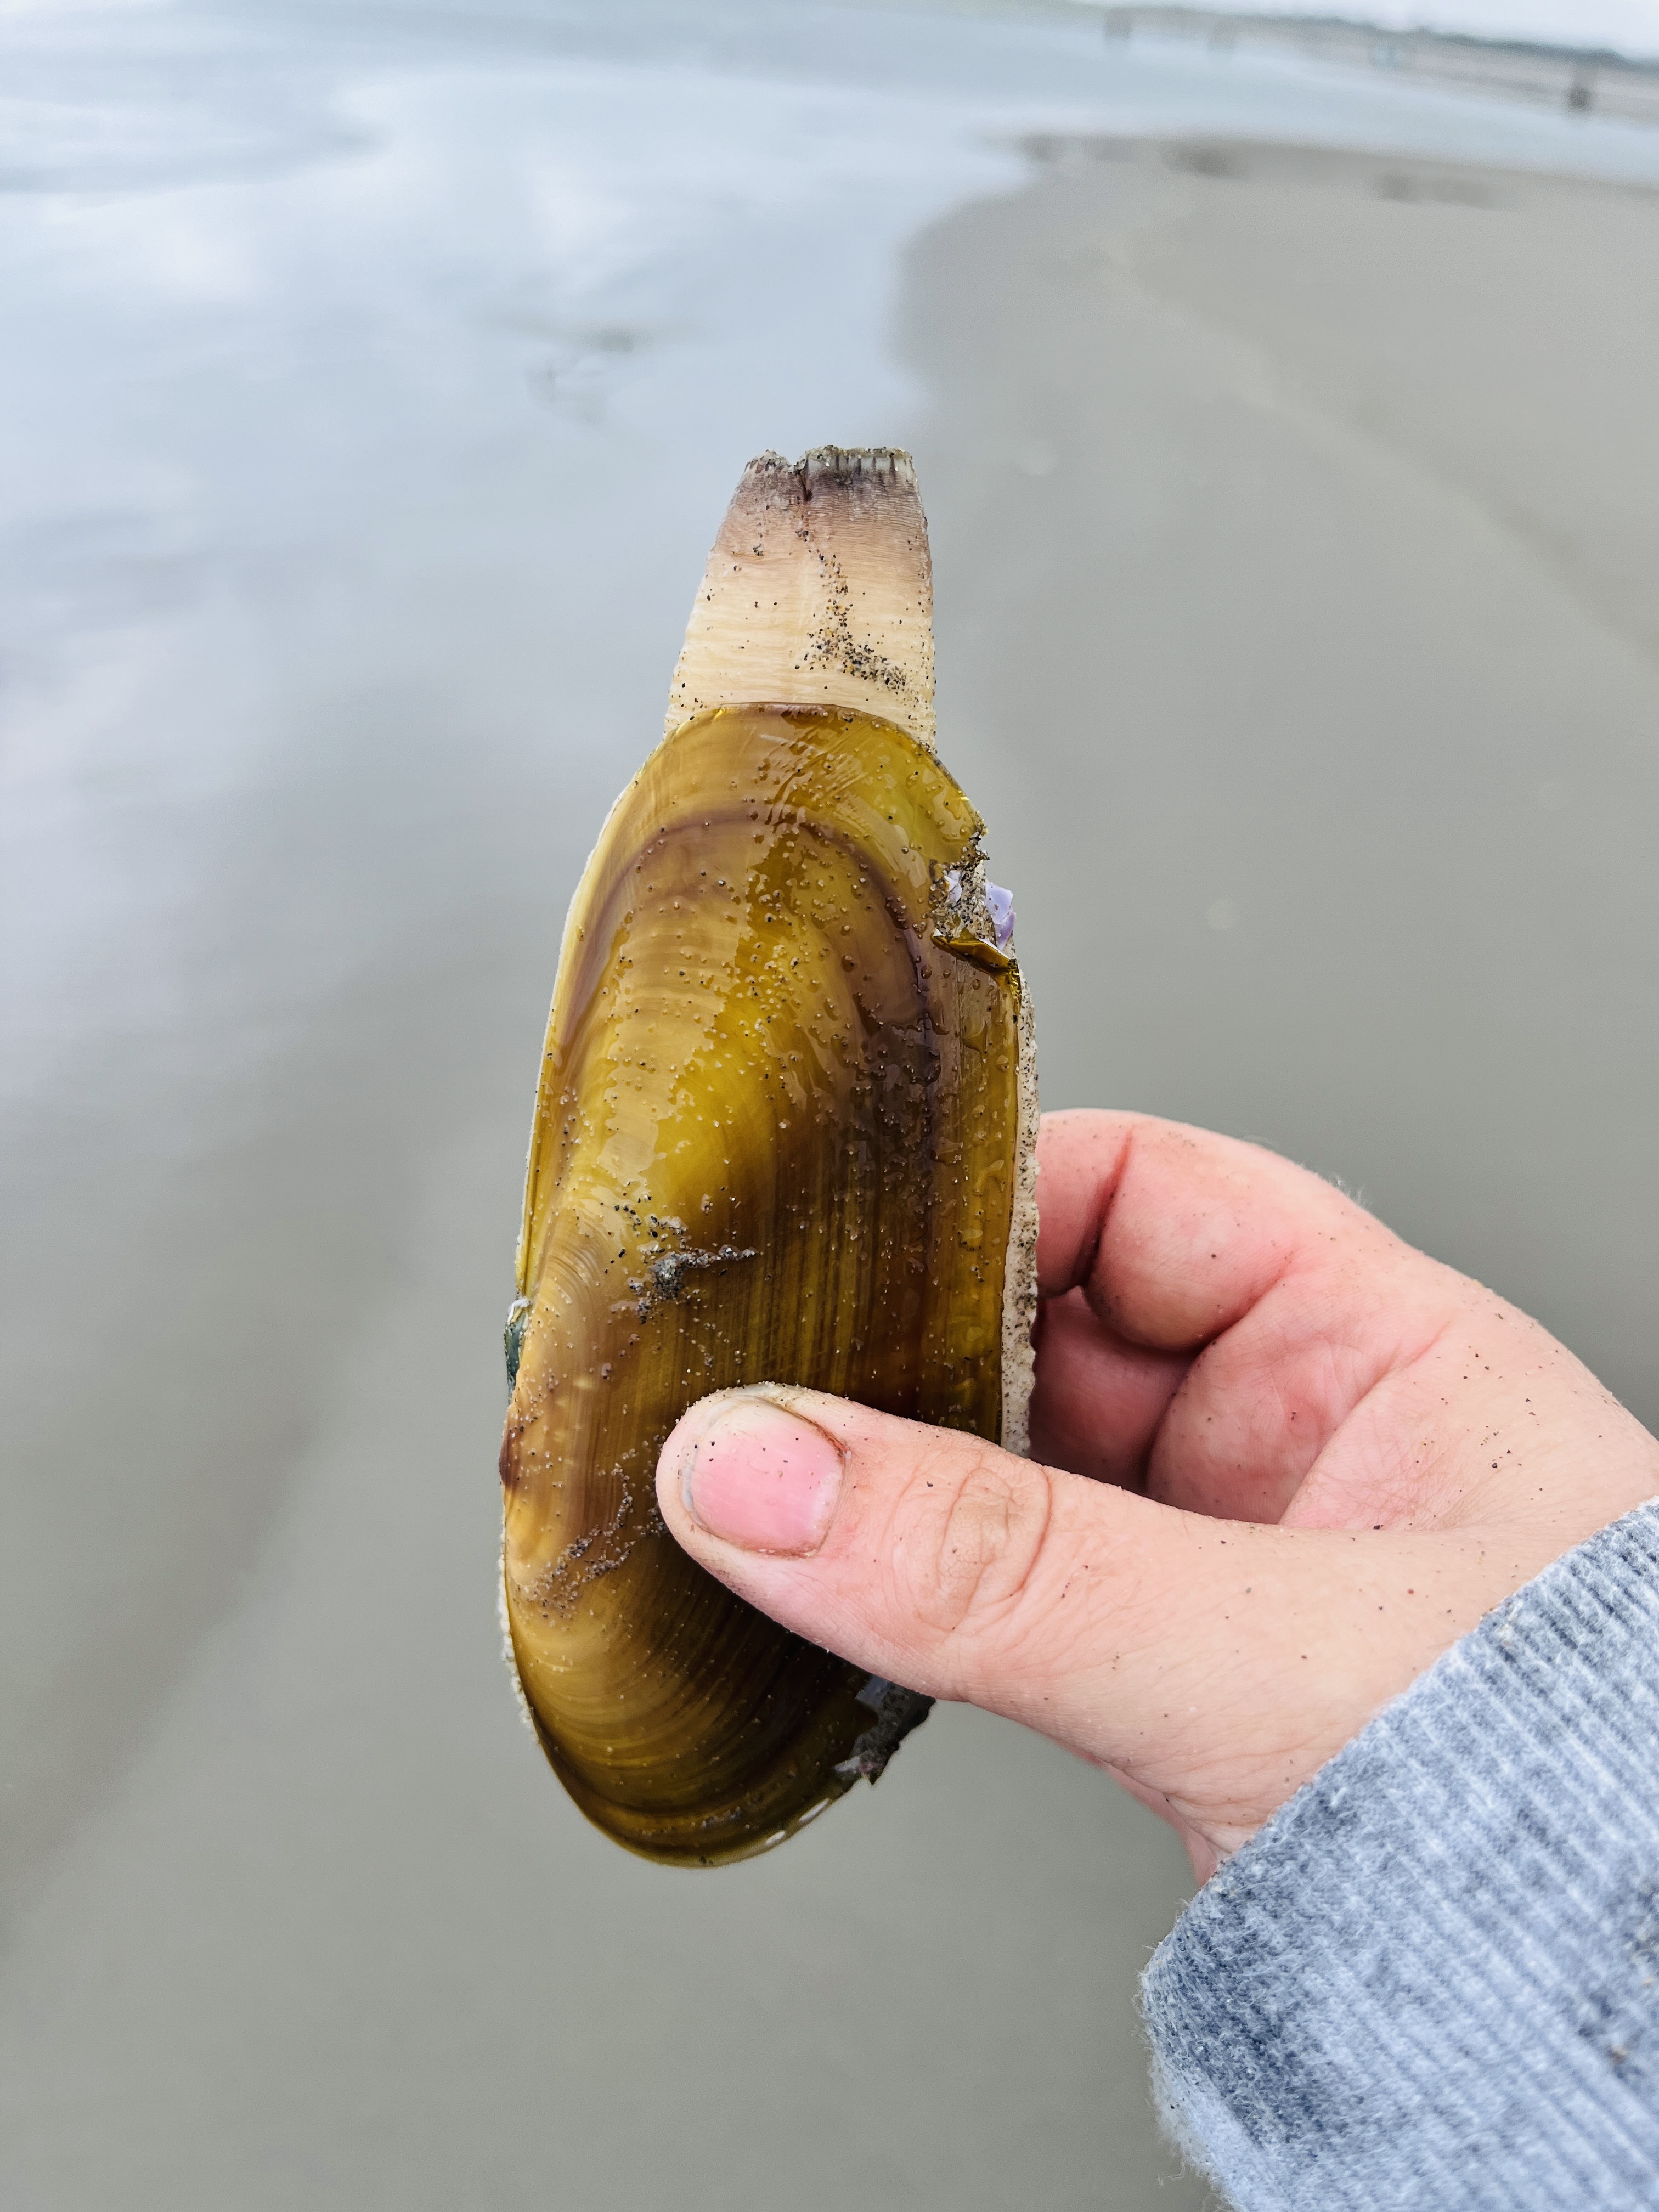
You dig them differently and we didn’t have the right tools, so I bought Paul a clam “gun” for Christmas. Paul brought one sad razor clam home after an ill-advised midnight dig last fall and we realized our friends were right! It was COMPLETELY different than the others. More tender, more sweet, easier to clean…
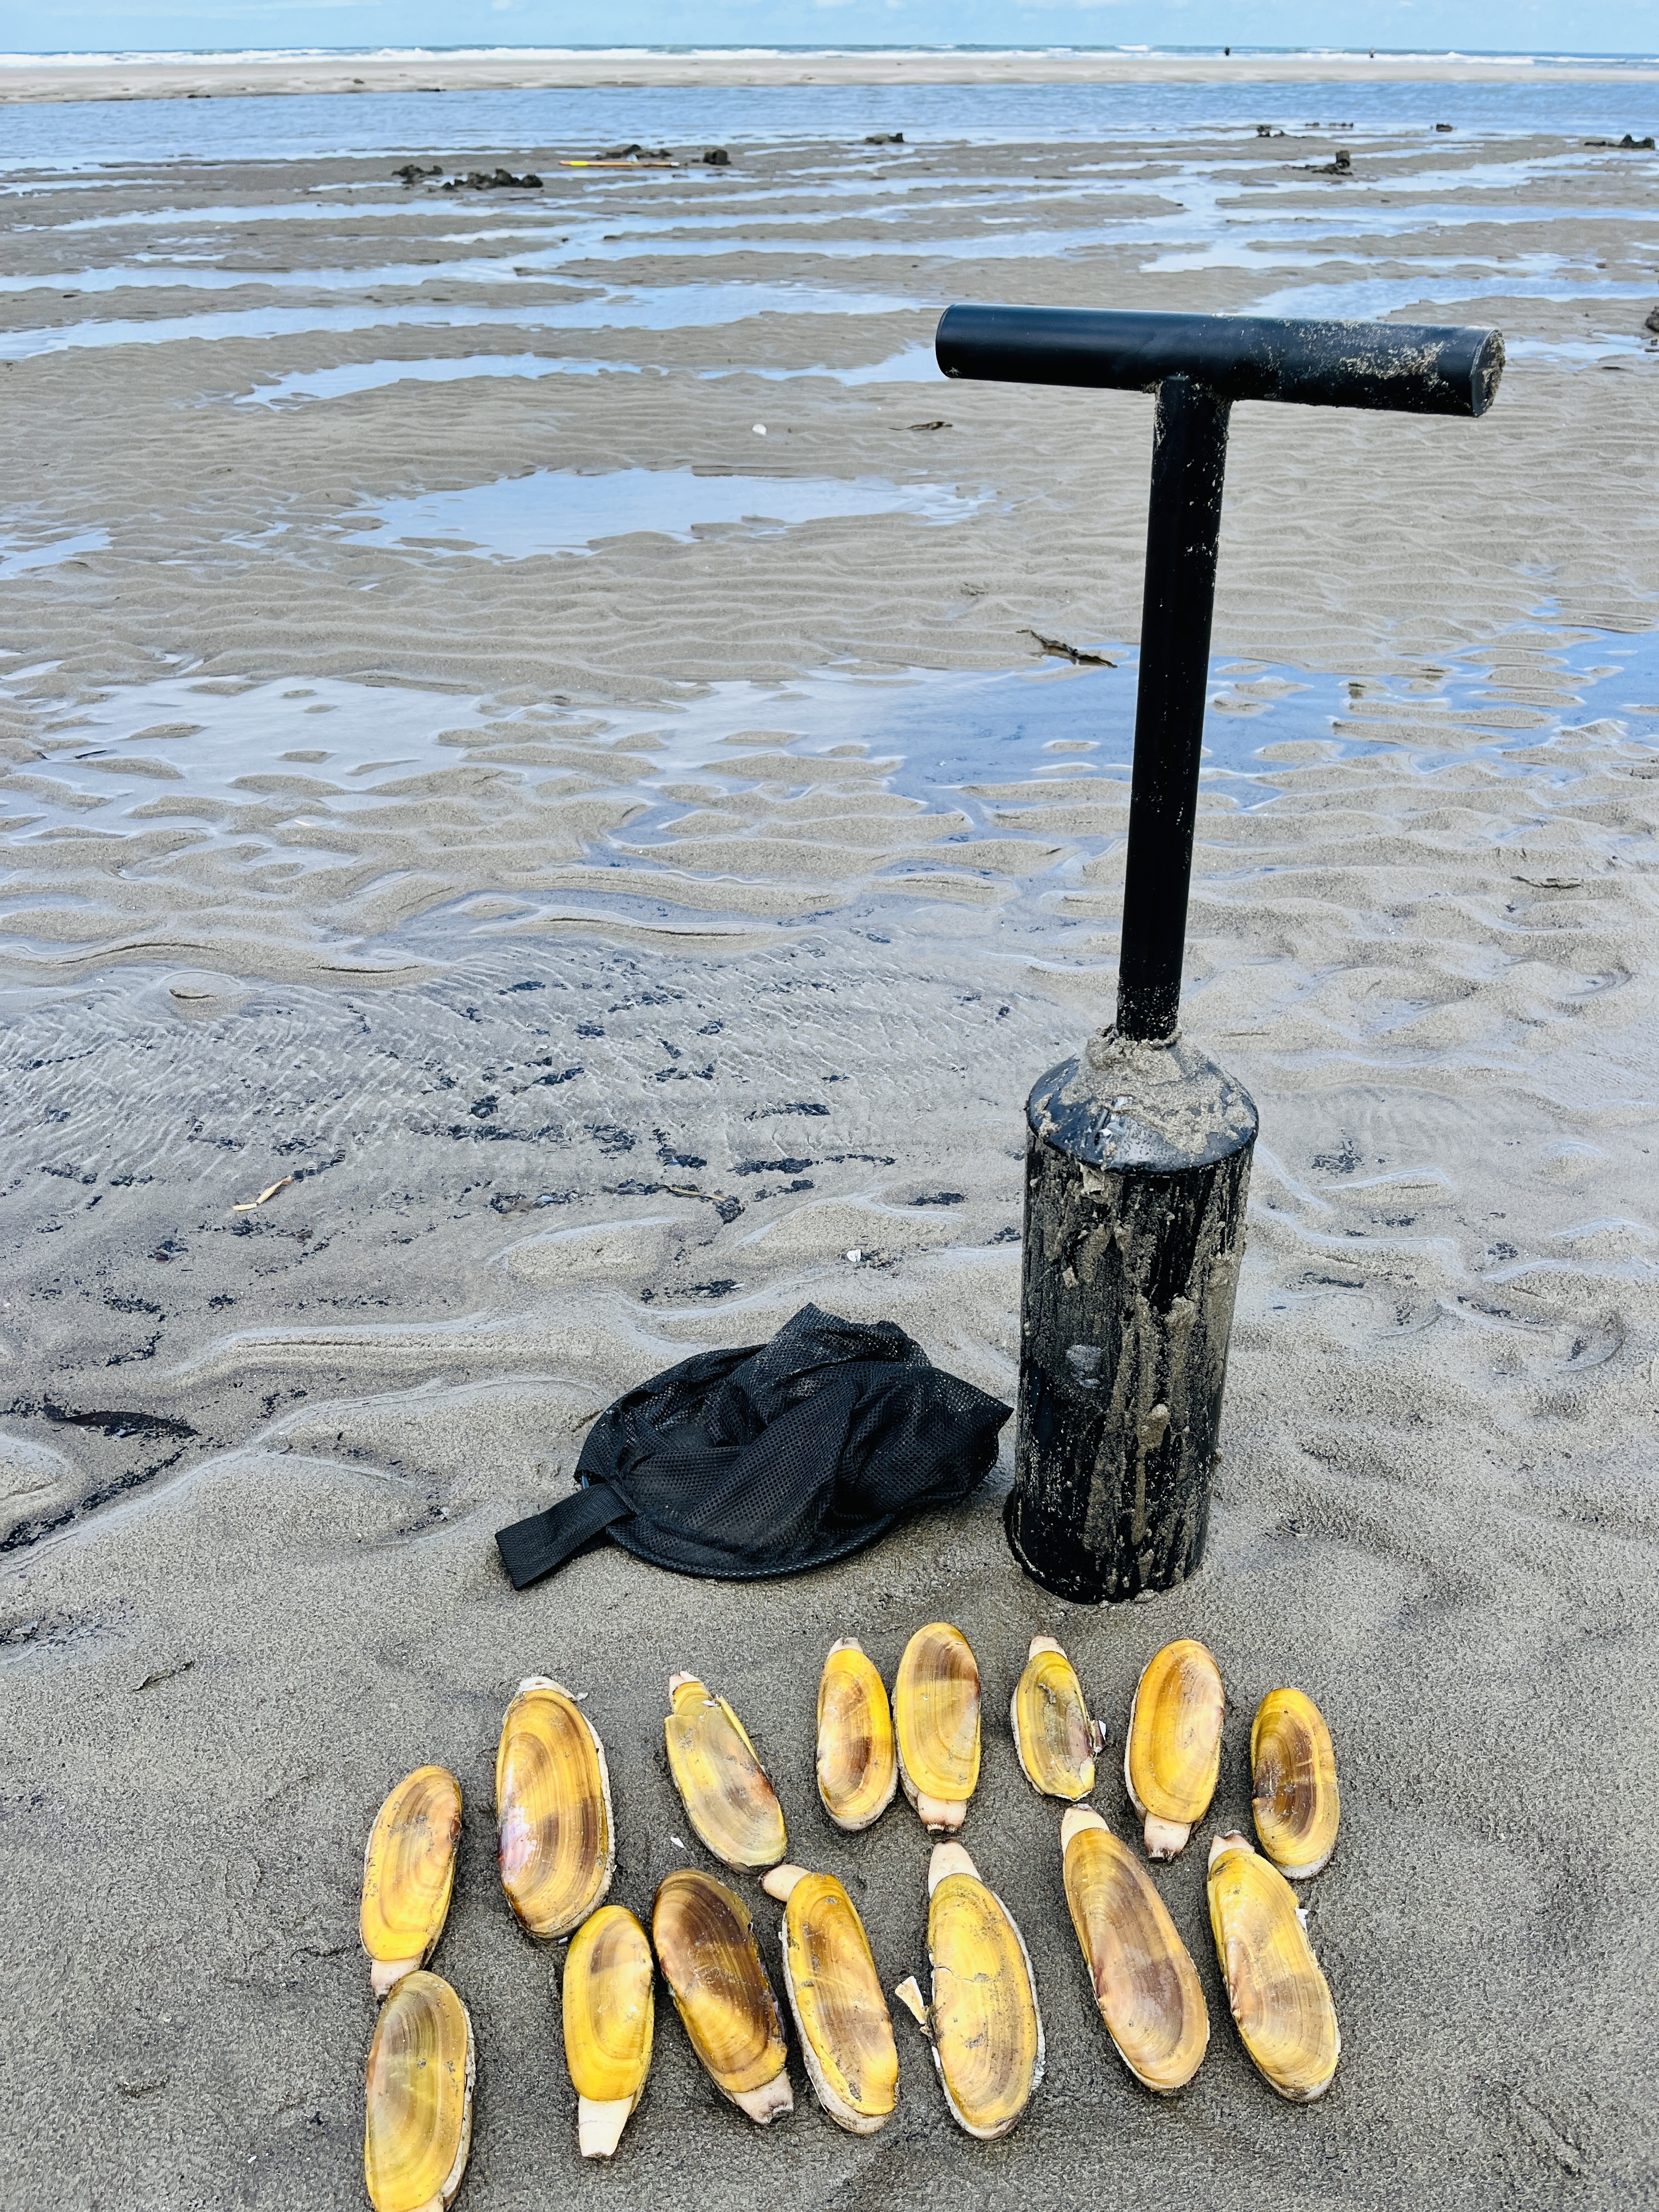
BUT, the digging of said clams is a little tide-dependent and since all the good tides were school days or family holidays we hadn’t had a chance to get any others. Until LAST WEEK. School’s out for summer so I headed to Seaside and managed to catch a limit in my first try!!!
I didn’t blog about how to dig and/or clean them – there are plenty of videos on how to do that. Many people pan fry them, but I do love a freshly clam strip, so let’s do it.
INGREDIENTS
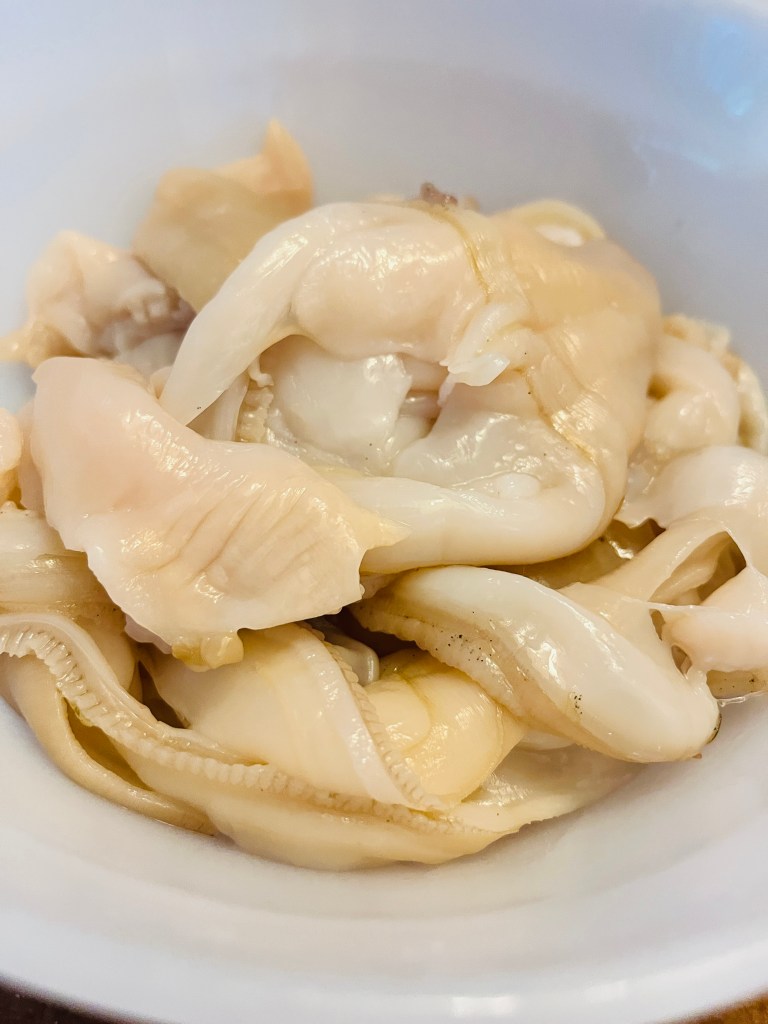
1 pound of clams, cleaned and cut into 2-3 inch strips.
1/2 cup all-purpose flour
1/4 teaspoon salt
1/8 teaspoon ground pepper
2 eggs, beaten
2 cups Panko crumbs
Vegetable oil for frying
Kosher salt, for dusting
Cocktail sauce, optional
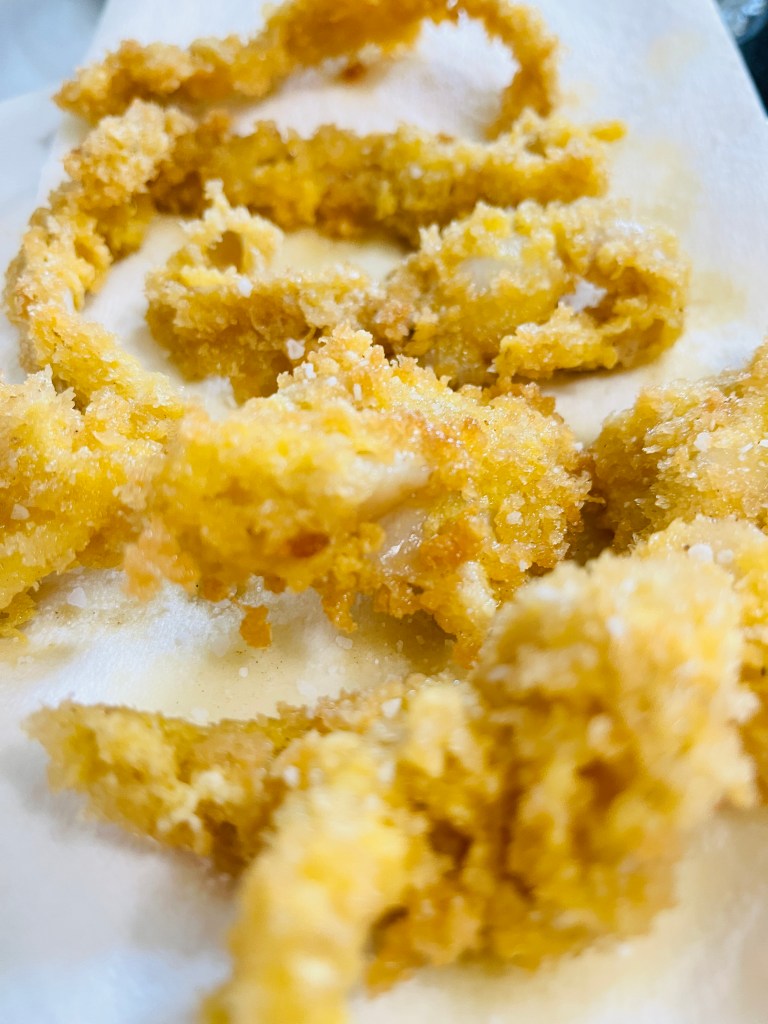
We’re going to do a basic 3-part dredge on the clams, then fry them in the hot oil, and season with a little salt at the end.
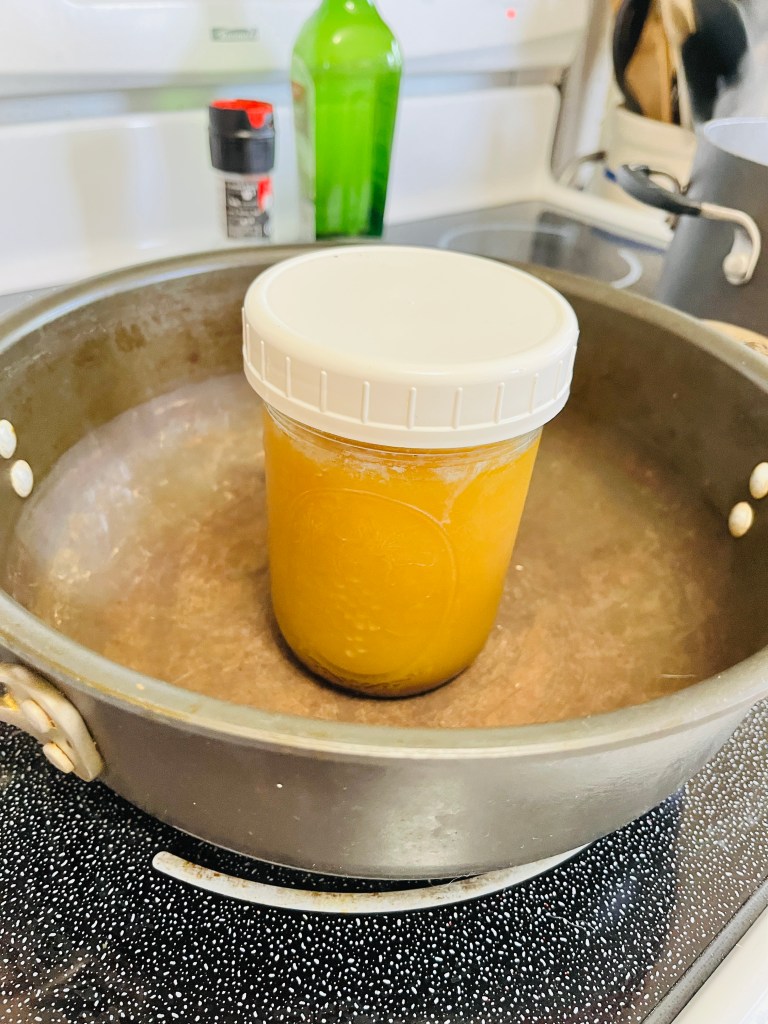
First, start your oil heating in a large cast iron or heavy-bottomed sauce pan. The goal temperature is 375 degrees, on my stove that’s about medium heat. I re-use my frying oil and it’s a mixture of peanut and corn oil. I just strain out the little bits and keep it in a jar in the fridge. If you are using a new bottle you will need about 3 cups of oil.
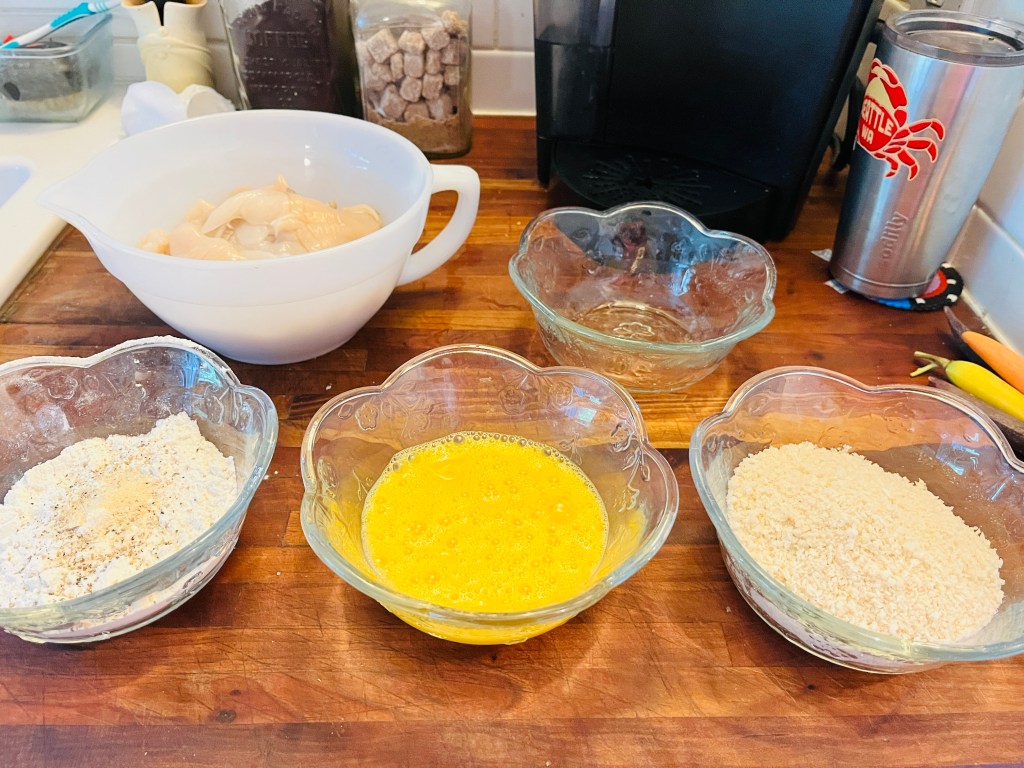
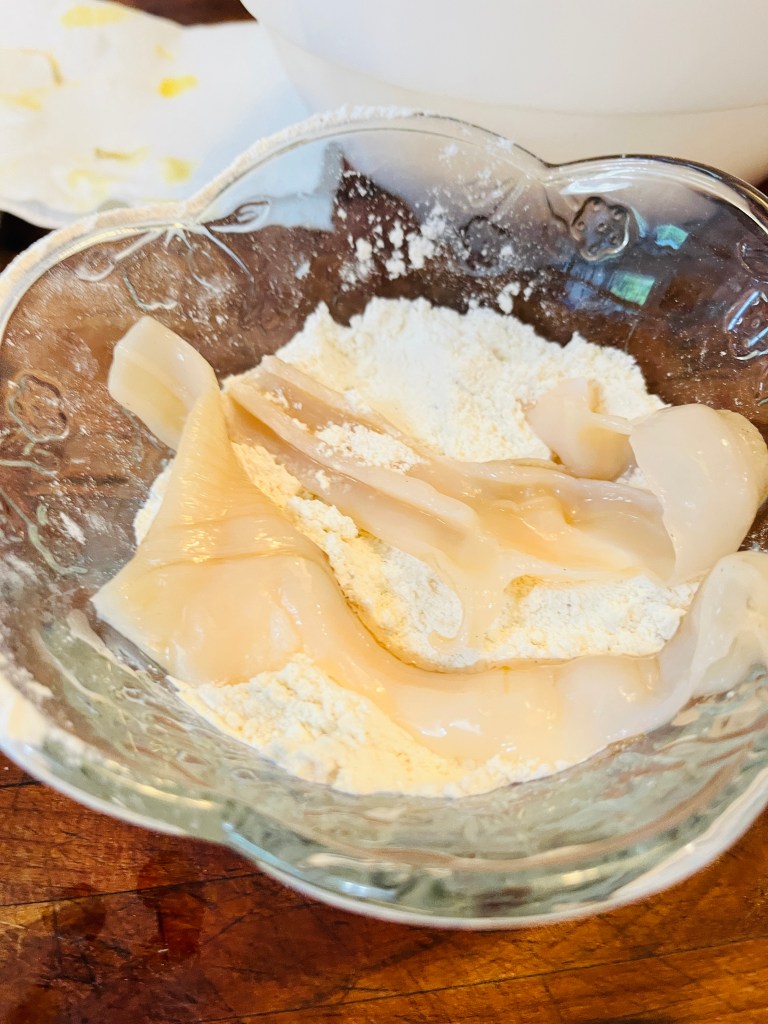
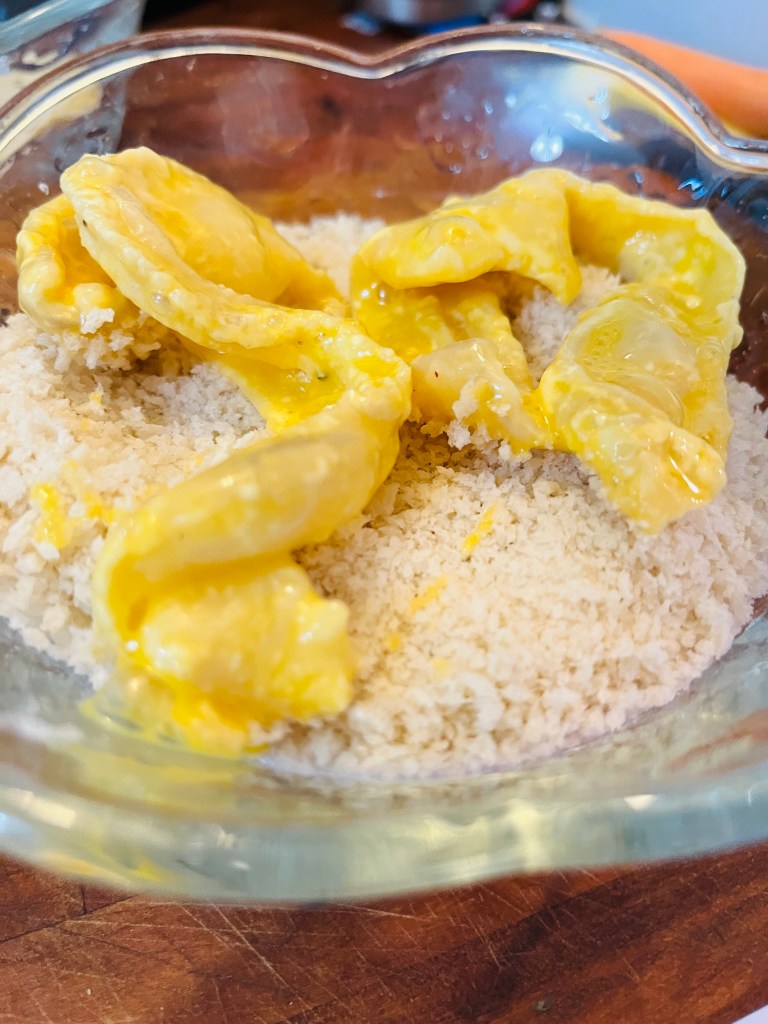
Set up four medium bowls: One for your flour, one for mixed eggs, one for panko crumbs, and one to hold your breaded clams. Mix salt and pepper into flour bowl for some added seasoning.
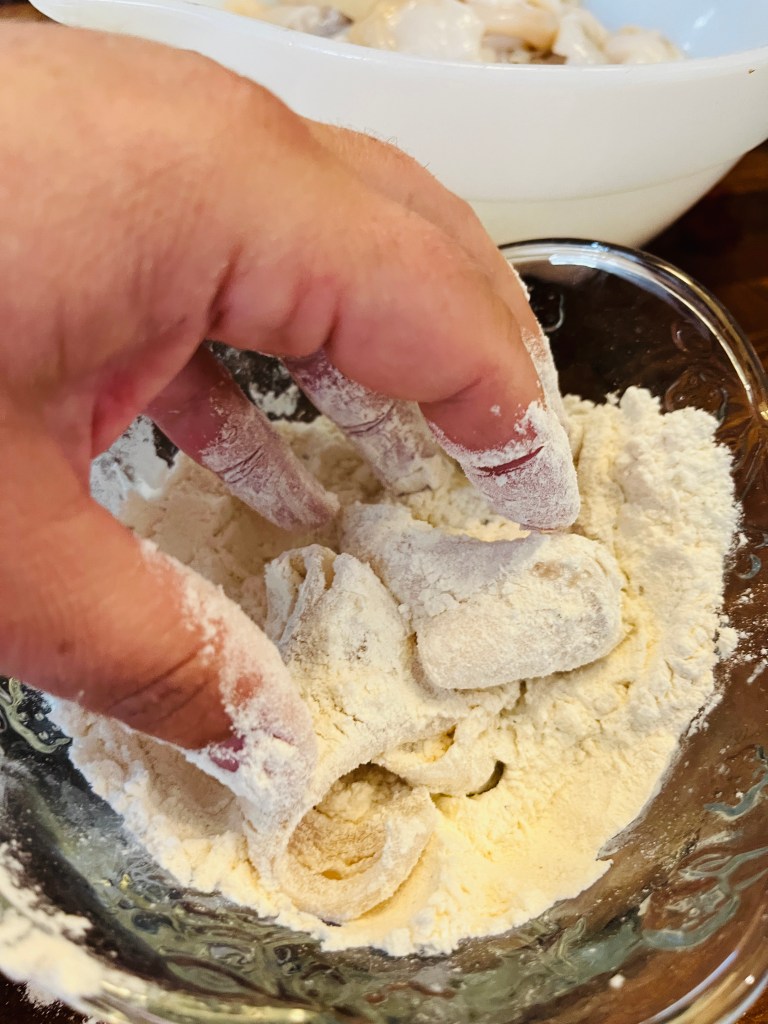
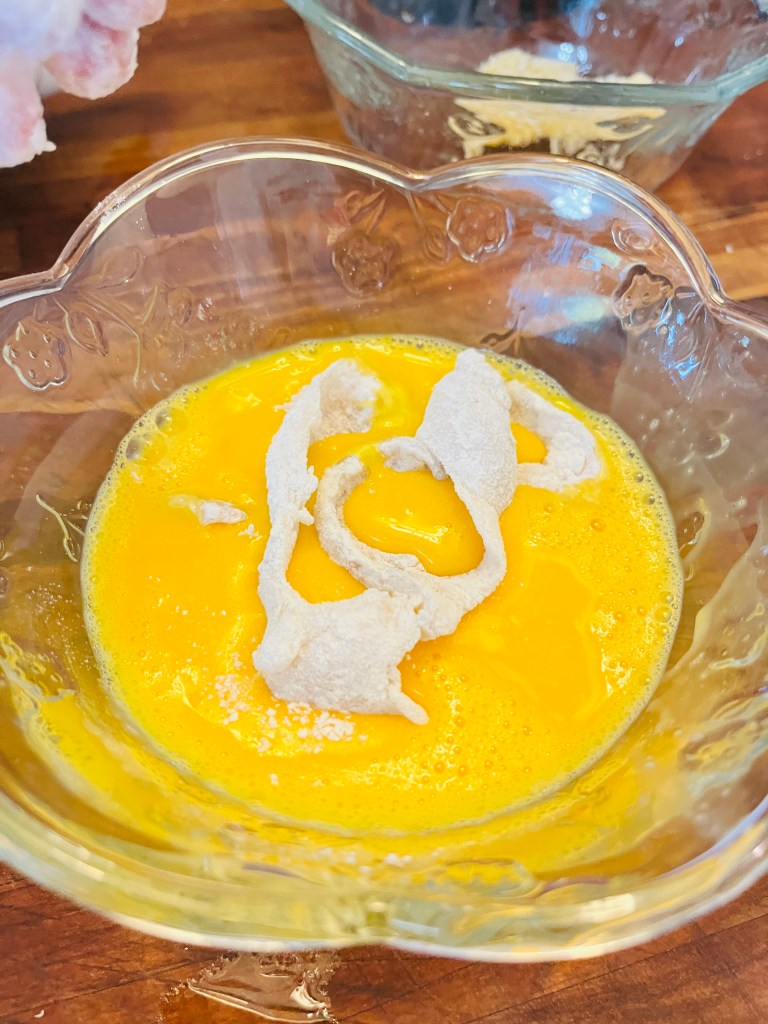
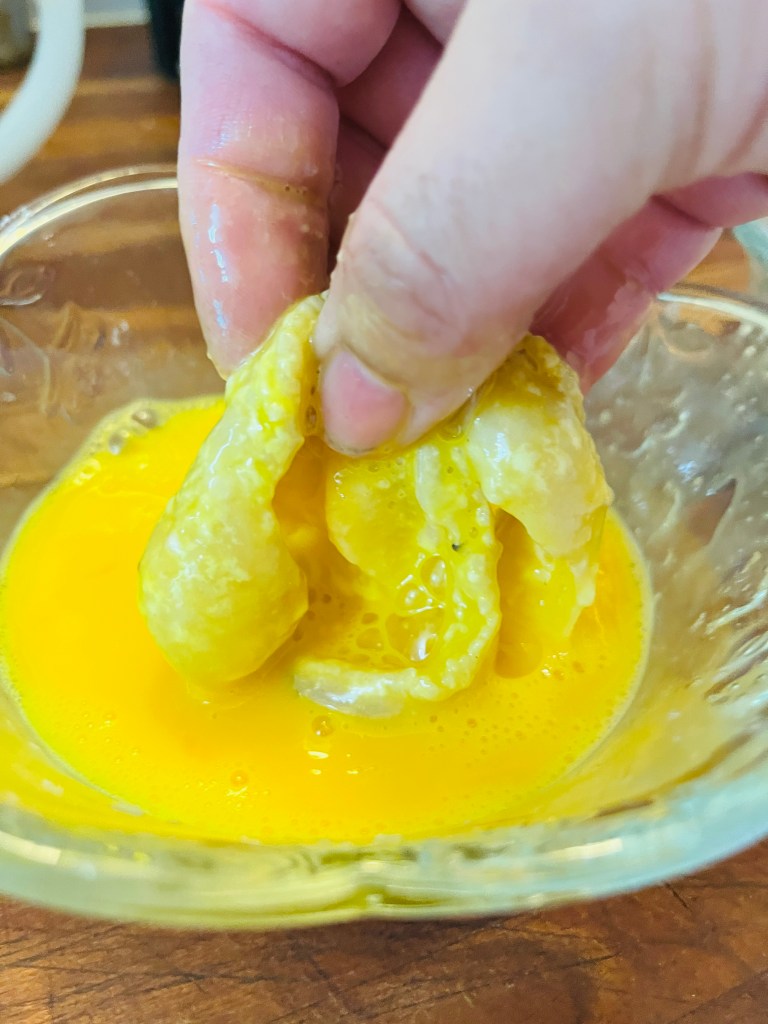
You will dunk each clam piece first in the flour to cover it, then the egg to cover, then the panko to cover. The natural moisture on the clams willmake the flour stick, the flour will make the egg stick, and the egg will make the panko stick. It can be a messy business, but my kids can do it so I know you can 🙂 I keep the waste down by designating a “dry hand (left)” and a “wet hand (right)” so my right hand picks up the clam and drops it into the flour, left hand tosses it around the four and drops it into the egg, right hand tosses it in the egg and drops it in the panko, left hand tosses it around the panko and into the “done” bowl. You can do more than one piece at a time, I usually toss 4-5 in at each pass. And I like to bread all my clams at once while the oil is heating.
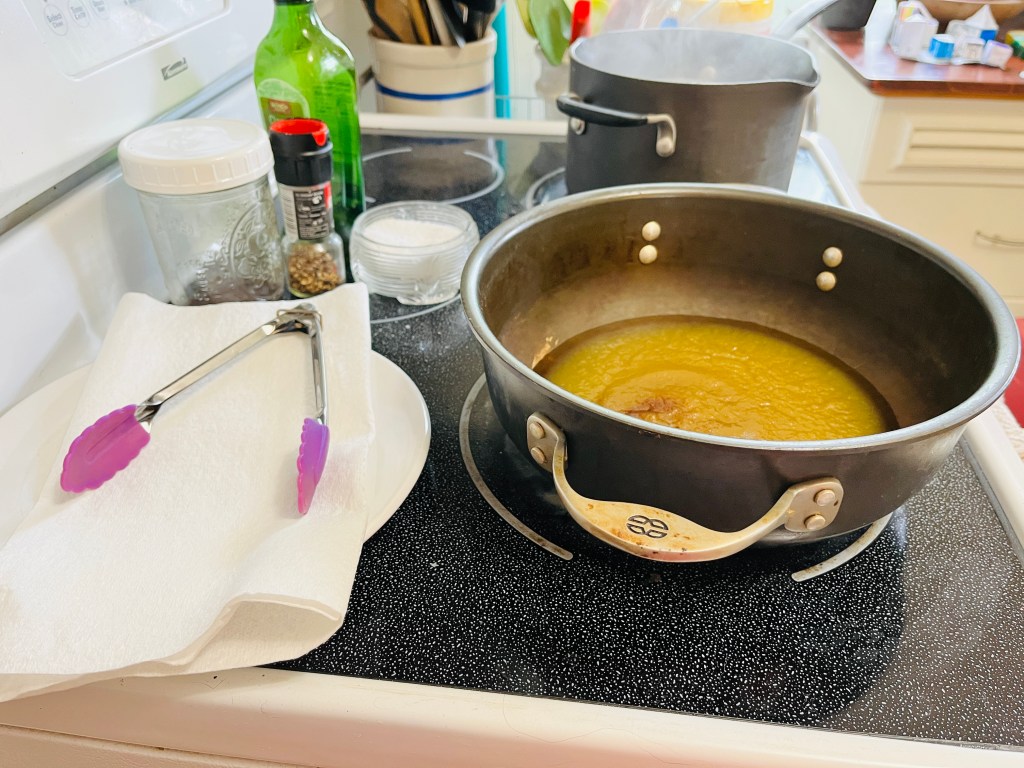
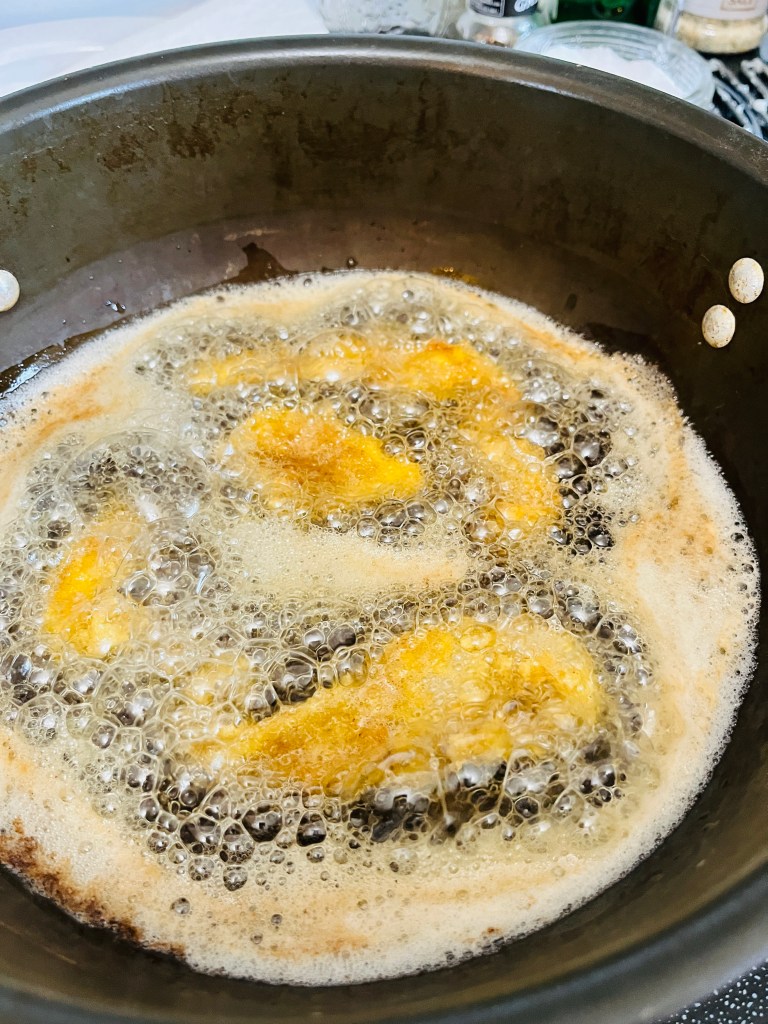
Test your oil by dropping a little bit of breading in. If it bubbles and sizzles it’s ready. If it pops or spatters, turn down the heat a little. Have a plate with a few paper towels (or newspapers) on top, and some tongs or a slotted metal spoon for turning.
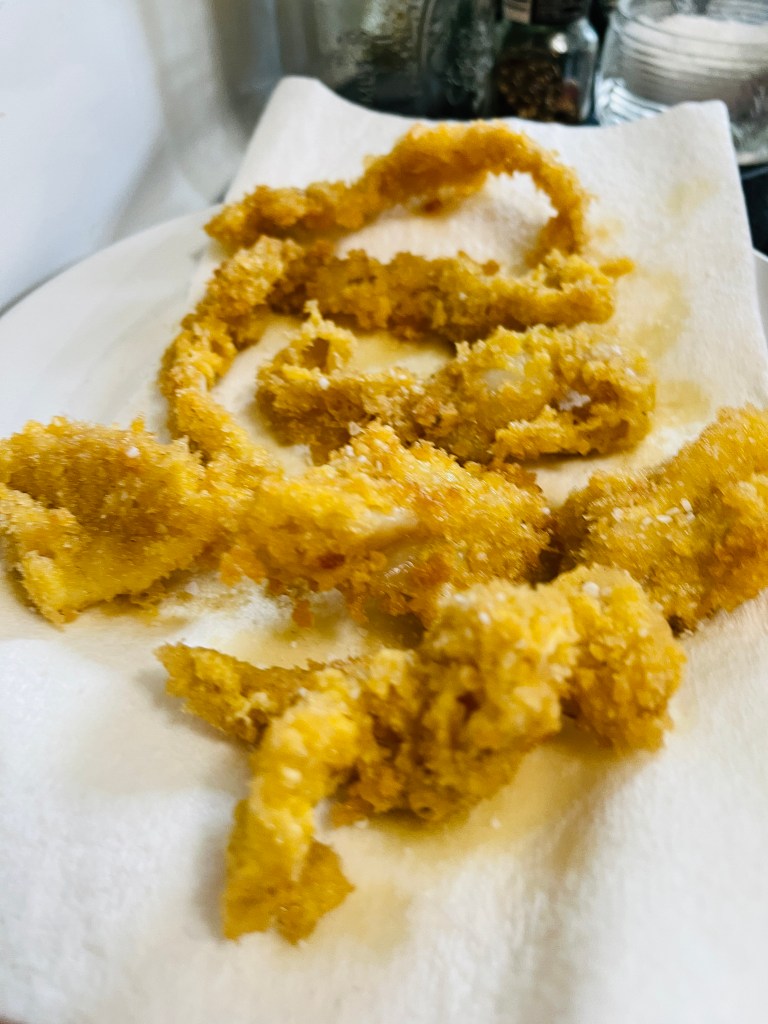
Drop the breaded pieces in a few at a time, turn them over when they start to brown (30 seconds?), remove to the paper towel plate after another 30 seconds. Clams DO NOT want to be over cooked. This is enough time I promise. Sprinkle them with a little salt while they are hot. Repeat with the rest of your breaded clams. Serve with a lemon slice and some cocktail sauce if you like.


One thought on “Fried Clam Strips”