You can get tasty chicken or beef stock pretty much anywhere. About 15 years ago when I foolishly tried to buy good veggie stock I was surprised to find that all of them kind of sucked. Is that slander? I tried five different kinds and they ranged from tinny to watery. So I decided to try making my own. At the end of the growing season I always have tons of leftover piles of veg that aren’t really good for anything else. Veggie stock is a terrific way to extract all the flavors and memories of your garden. They are great flavor-adders and soup builders. It’s actually really easy to make, and you’ll be glad you did all winter long!

You can change up the quantity of these ingredients as much as you like, but try to avoid adding any other veggies you have around. Adding things like rosemary, broccoli, or peppers can throw off the balance and impart off-flavors to whatever you use the stock for. Anything you don’t have in your garden, get at the grocery, the farmers market, or your neighbor’s garden – tee hee hee!
INGREDIENTS
- 2 Tbsp olive oil
- 3 large onions, quartered
- 1 head of garlic, sliced in half cross-ways
- 12 large carrots, chunky slices
- 1 package celery (the only thing that doesn’t grow in my garden, I just buy it. A celariac root works well, too.), rough chopped
- 4-5 large tomatoes
- 2 Tbsp black peppercorns
- 4 Tbsp mustard seeds
- Large handful kale or collard greens, rough chopped
- 1 Large handful of thyme (leaves and branches)
- 2 Large handfuls of parsley (any kind), rough chopped
- 1 Large handful of oregano (leaves and branches)
Find a LARGE stockpot and put it on the stove. Really, get a big pot. If you don’t have a BIG pot, divide it in to two batches or cut the quantities in half. Turn the stove on to medium high. You can either just throw everything into the pan at once or do it like this…

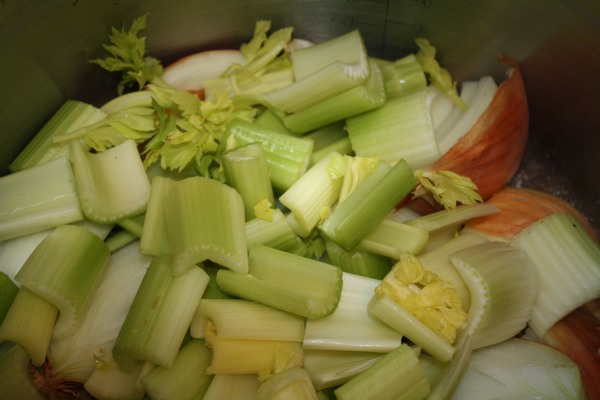
While the oil is heating up, chop the onions into quarters and toss them in. Don’t peel away the papery skins, they just have concentrated flavor. I do throw out the rooty part because they are often really dirty. And cut away any part that looks like it might be rotten. Chop the celery (also ditching the end, but keeping the leaves) and add it to the pot. Stir them up a little and let them sizzle away in there. Our goal is to get them a little carmelized.

While they are cooking, chop the carrots. I don’t peel them, but make sure they are really scrubbed clean. And cop off their tops, and any part that is greenish. Add them to the pot.

You can either chop your garlic heads in half like the picture above, or you can just break the cloves apart and pitch them in, papers and all!

Stir it all up and let it cook for 5-10 minutes to add a little color to the veggies. While that is happening, start cutting up the tomatoes. Remove them stems and chop them into large chunks. You can use tomatoes that have some cracks or bruises, just cut those parts off. Any variety will do. Don’t worry, the tomatoes don’t give the stock a red color. Somehow they wind of clear when they are in this broth.


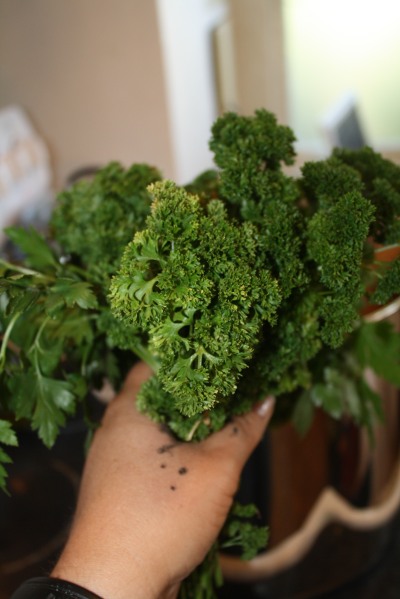
Grab some parsley from the garden or the fridge. You’ll want a lot. Two large handfuls. Make sure they are really clean. In the fall they can be pretty muddy. Rip them apart with your hands or cut them up a bit. No need to get fancy. Do they same with the oregano and thyme, though it’s hard to chop or tear them, so I just put them all in as-is. Stir up again.


Next add your peppercorns and mustard seed. I don’t bother to contain them in any way. You’re going to strain them all off at the end anyway, so why waste the cheesecloth?? Just dump them in.
 I like to add kale to my stock. There’s usually tons of it this time of year (and it don’t always look terrific), it adds nutrients like vitamin A, vitamin K, and iron. The hearty kales, collards, and mustard greens don’t make the broth green, but spinach and swiss chard DO. Use caution. Wash it off, chop it up and drop it in.

Almost done! Add just enough water to cover the vegetables and bring it to a boil. No need for salt at this point. Let it boil on medium to medium-high for about 2 hours. The goal is to coax all that flavor and nutrient out of the veggies and into the broth.


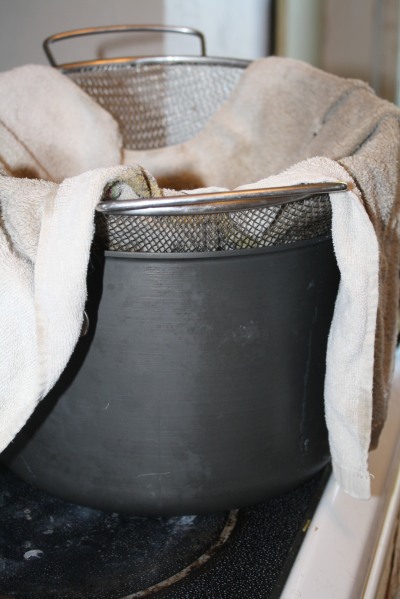
You can do the straining off a few different ways, but here’s what I do. Let it all cool for about an hour. You can do it hot, but you’ll likely splash/burn yourself. Your call. Set up another large-ish sauce pan on or near your stove and put your colander inside it. Get some cheesecloth or (in my case) an old kitchen towel, get it wet, and spread it out in the bottom of the colander.

Pour the veggies in there – SLOWLY. They will splash and flop a bit. Try to get them all on the pile though.

Let this just drain by itself for an hour if you can. If you need to wrap it up quickly, you can pull up the four corners of the towel and gently pull all of it up and out of the colander. That will speed it up. You can even twist the towel and squeeze it, but you risk an explosion that way.

When you’re done draining, toss those spent veggies out in the compost or chicken house and take a long look at the beautiful broth you just made…

You can portion this out and put it in your freezer just as it is, or you can reduce it down for a little more concentrated flavor. I prefer concentrated flavor 🙂 Turn the burner back up to high, and boil the crap out of that broth! I leave it on there for about an hour. Sometimes longer. Until it is about half the volume I started with. I’m trying to boil off all the water, and create a thicker, tastier broth. I do this for storage (half as much water takes half as much space in the freezer, right?), and it helps when I just want to add flavor to a soup or sauce without adding too much water.

That’s it! You can freeze it in quart bags, plastic containers or Ice cube trays. I believe you can also can it, but I haven’t ever tried. I blogged this recipe because it is super easy and really helpful for home cooks. Don’t be put off by how many steps there are… it really doesn’t take that much of your time, and you will be patting yourself on the back all winter long!!


